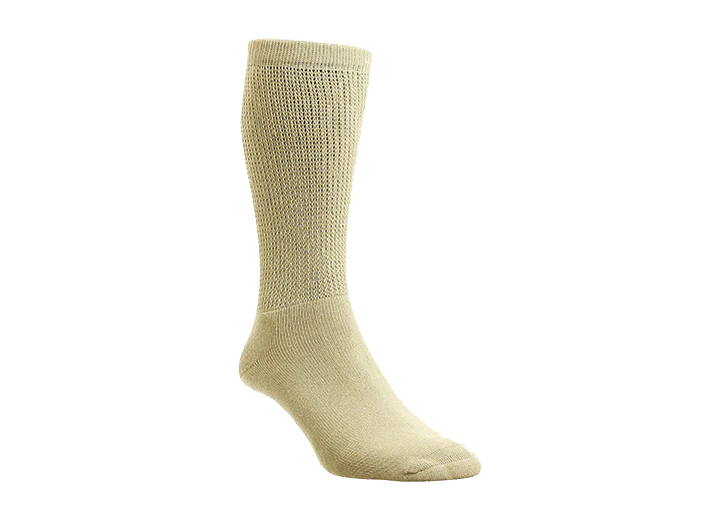
In the event that you are know all about weaving and have some additional yarn laying around, why not transform it into a couple of warm socks for yourself or somebody you love? Follow these moves toward figure out how to sew socks. This instructional exercise expects that you know the accompanying weaving methods: how to sew, purl, cast on and cast off. In the event that you are curious about these terms, you should realize what they are and how to do them prior to endeavoring to sew your own socks.
Stage One: Picking Your String
Pick the string you need to use to make your sock. Utilizing a thick yarn will make a preferred slipper over a sock so you need to be careful with your decision.
Stage Two: Picking Your Needles
You will require twofold guided needles toward work with this specific sock design. You will require five on the grounds that the balanced idea of this example calls for four needles to hold the work as you fabricate the sock and one needle to work with to construct the sock.
Stage Three: Cast On to Try not to Need to Sew the Toe of the Sock
Utilizing two needles, fold the string over them in a figure eight shape. Each of the circles you make here will transform into join of the sock later. On the off chance that you are making a little sock, utilize eight circles, yet for bigger socks, utilize 10 circles.
Stage Four: Adding a Third Needle
You should utilize a third needle to weave every one of the circles on the first. After you have weaved every one of the circles on the main needle, take it and sew each of the circles on the subsequent needle. The final product of this step ought to show every one of your lines on the first and third needles. Try not to stress over the fastens being free in light of the fact that they will be fixed later simultaneously.
Stage Five: Building A greater amount of the Sock
With the third or drifting needle, follow the weave one slipper socks, cause one example until you to have arrived at the midpoint over the needle. Presently, you will need to add a marker to show the back community point of the sock.
Stage Six: Adding a Fourth Needle
Add one more needle in with the general mish-mash and proceed with the weave one, make one example until there is one remaining, sewing the last fasten.
Stage Seven: Proceeding with the Example to Assemble the Sock
Rehash these means with a subsequent projecting on needle. In the event that you are weaving an enormous sock, rely on having six fastens on every one. On the off chance that you are sewing a little sock, rely on having five fastens on every one. Proceed with this weaving design until you have fabricated the whole length of your sock.